IPR
Setting up for your appointment
Here are the instruments/materials that you will need:
- Air/water syringe
- Mirror & Explorer
- IPR strips/handle/disk
- IPR measuring gauge
- Dental floss
1. Read any notes in the Office Visit
See if the Orthodontist has left any notes for this Office Visit.
2. Perform the IPR
Review the instructions sheet in the patient’s aligner box for the IPR that needs to be performed in this appointment.
Here is a video if you need a reminder on performing IPR:
3. Give the aligners and the supplies to your patient
See if the patient is running out of aligners or elastics.
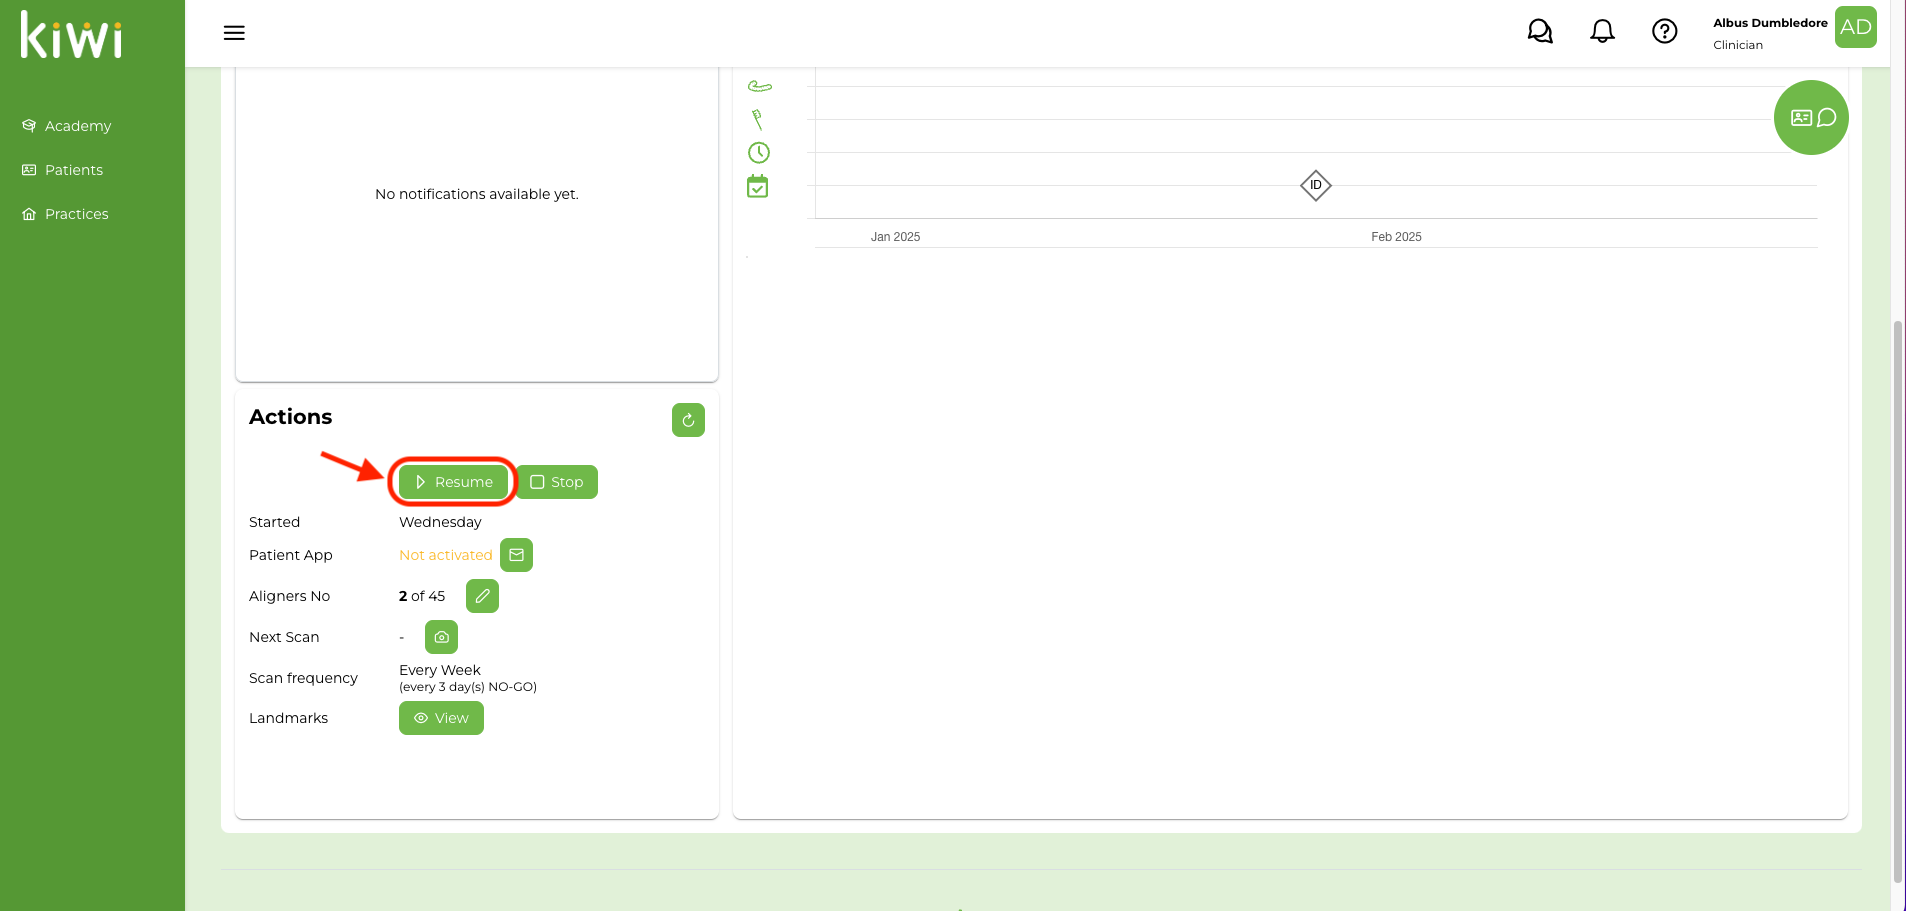
4. Resume monitoring
Click on the monitoring “Resume” button and select tomorrow’s date.
5. Write clinical notes and update Visit status
Click on “Mark Complete” and add any notes to the Office Visit if any of the planned actions could not be done as planned (e.g. was able to only performed x.x mm of IPR between teeth #… , …).
Make sure that you checked all the to-do list and dismiss the patient.