Add Attachments
Setting up for your appointment
Here are the instruments/materials that you will need:
- The patient’s attachment template (bag labeled U-T## and L-T## based on the aligner stage the attachment needs to be added)
- Air/water syringe
- Mirror & Explorer
- Scaler
- Composite filling instrument
- Suction tip
- Cotton rolls
- Rubber dam cheek retractor (or NOLA)
- Microbrush
- Dental etch
- Bonding agent
- Composite resin
- Curing light
- UV blacklight flashlight
- Polishing white stone rounded burr
1. Read any notes in the Office Visit
See if the Doctor has left any notes for this Office Visit.
2. Bond attachments
Review the instructions sheet in the patient’s aligner box for the attachments that need to be bonded in this appointment.
Here is a video if you need a reminder on bonding attachments:
3. Give the aligners and the supplies to your patient
See if the patient is running out of aligners or elastics.
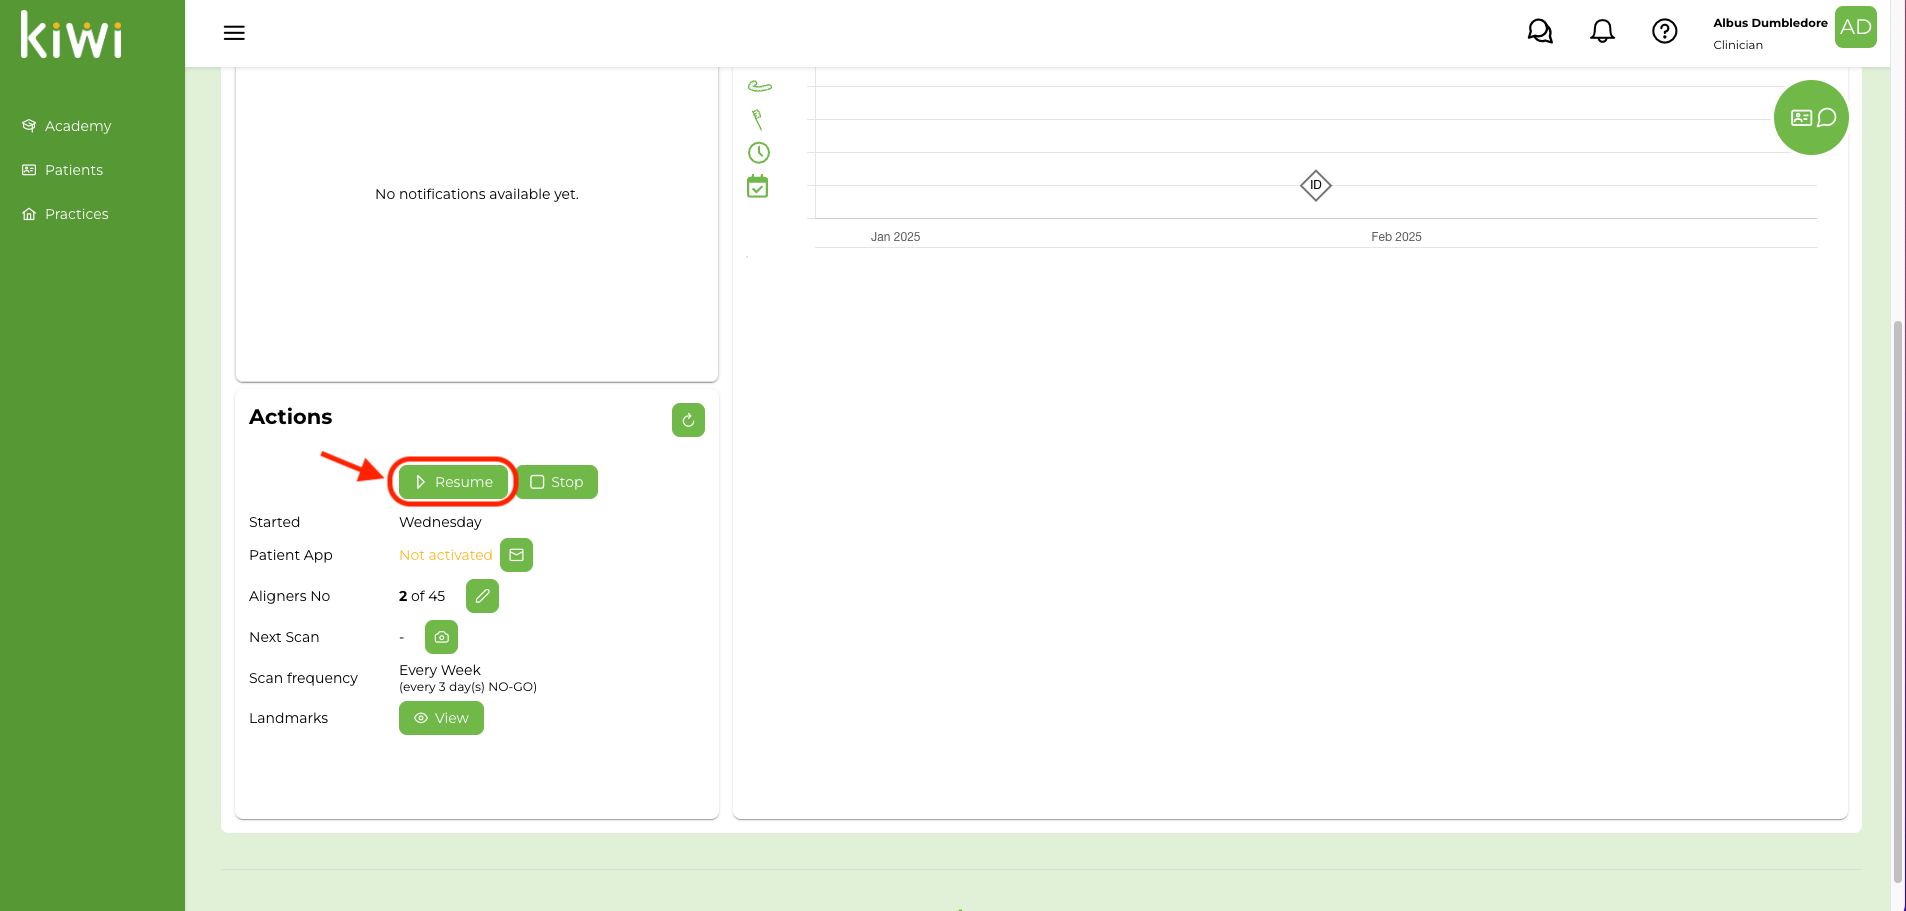
4. Resume monitoring
Click on the monitoring “Resume” button and select tomorrow’s date
5. Write clinical notes and update Visit status
Click on “Mark Complete” and add any notes to the Office Visit if any of the planned actions could not be done as planned (e.g. could not bond attachment on tooth #…).
Make sure that you checked all the to-do list and dismiss the patient.