Initial Delivery
Setting up for your appointment
List of instruments/materials required:
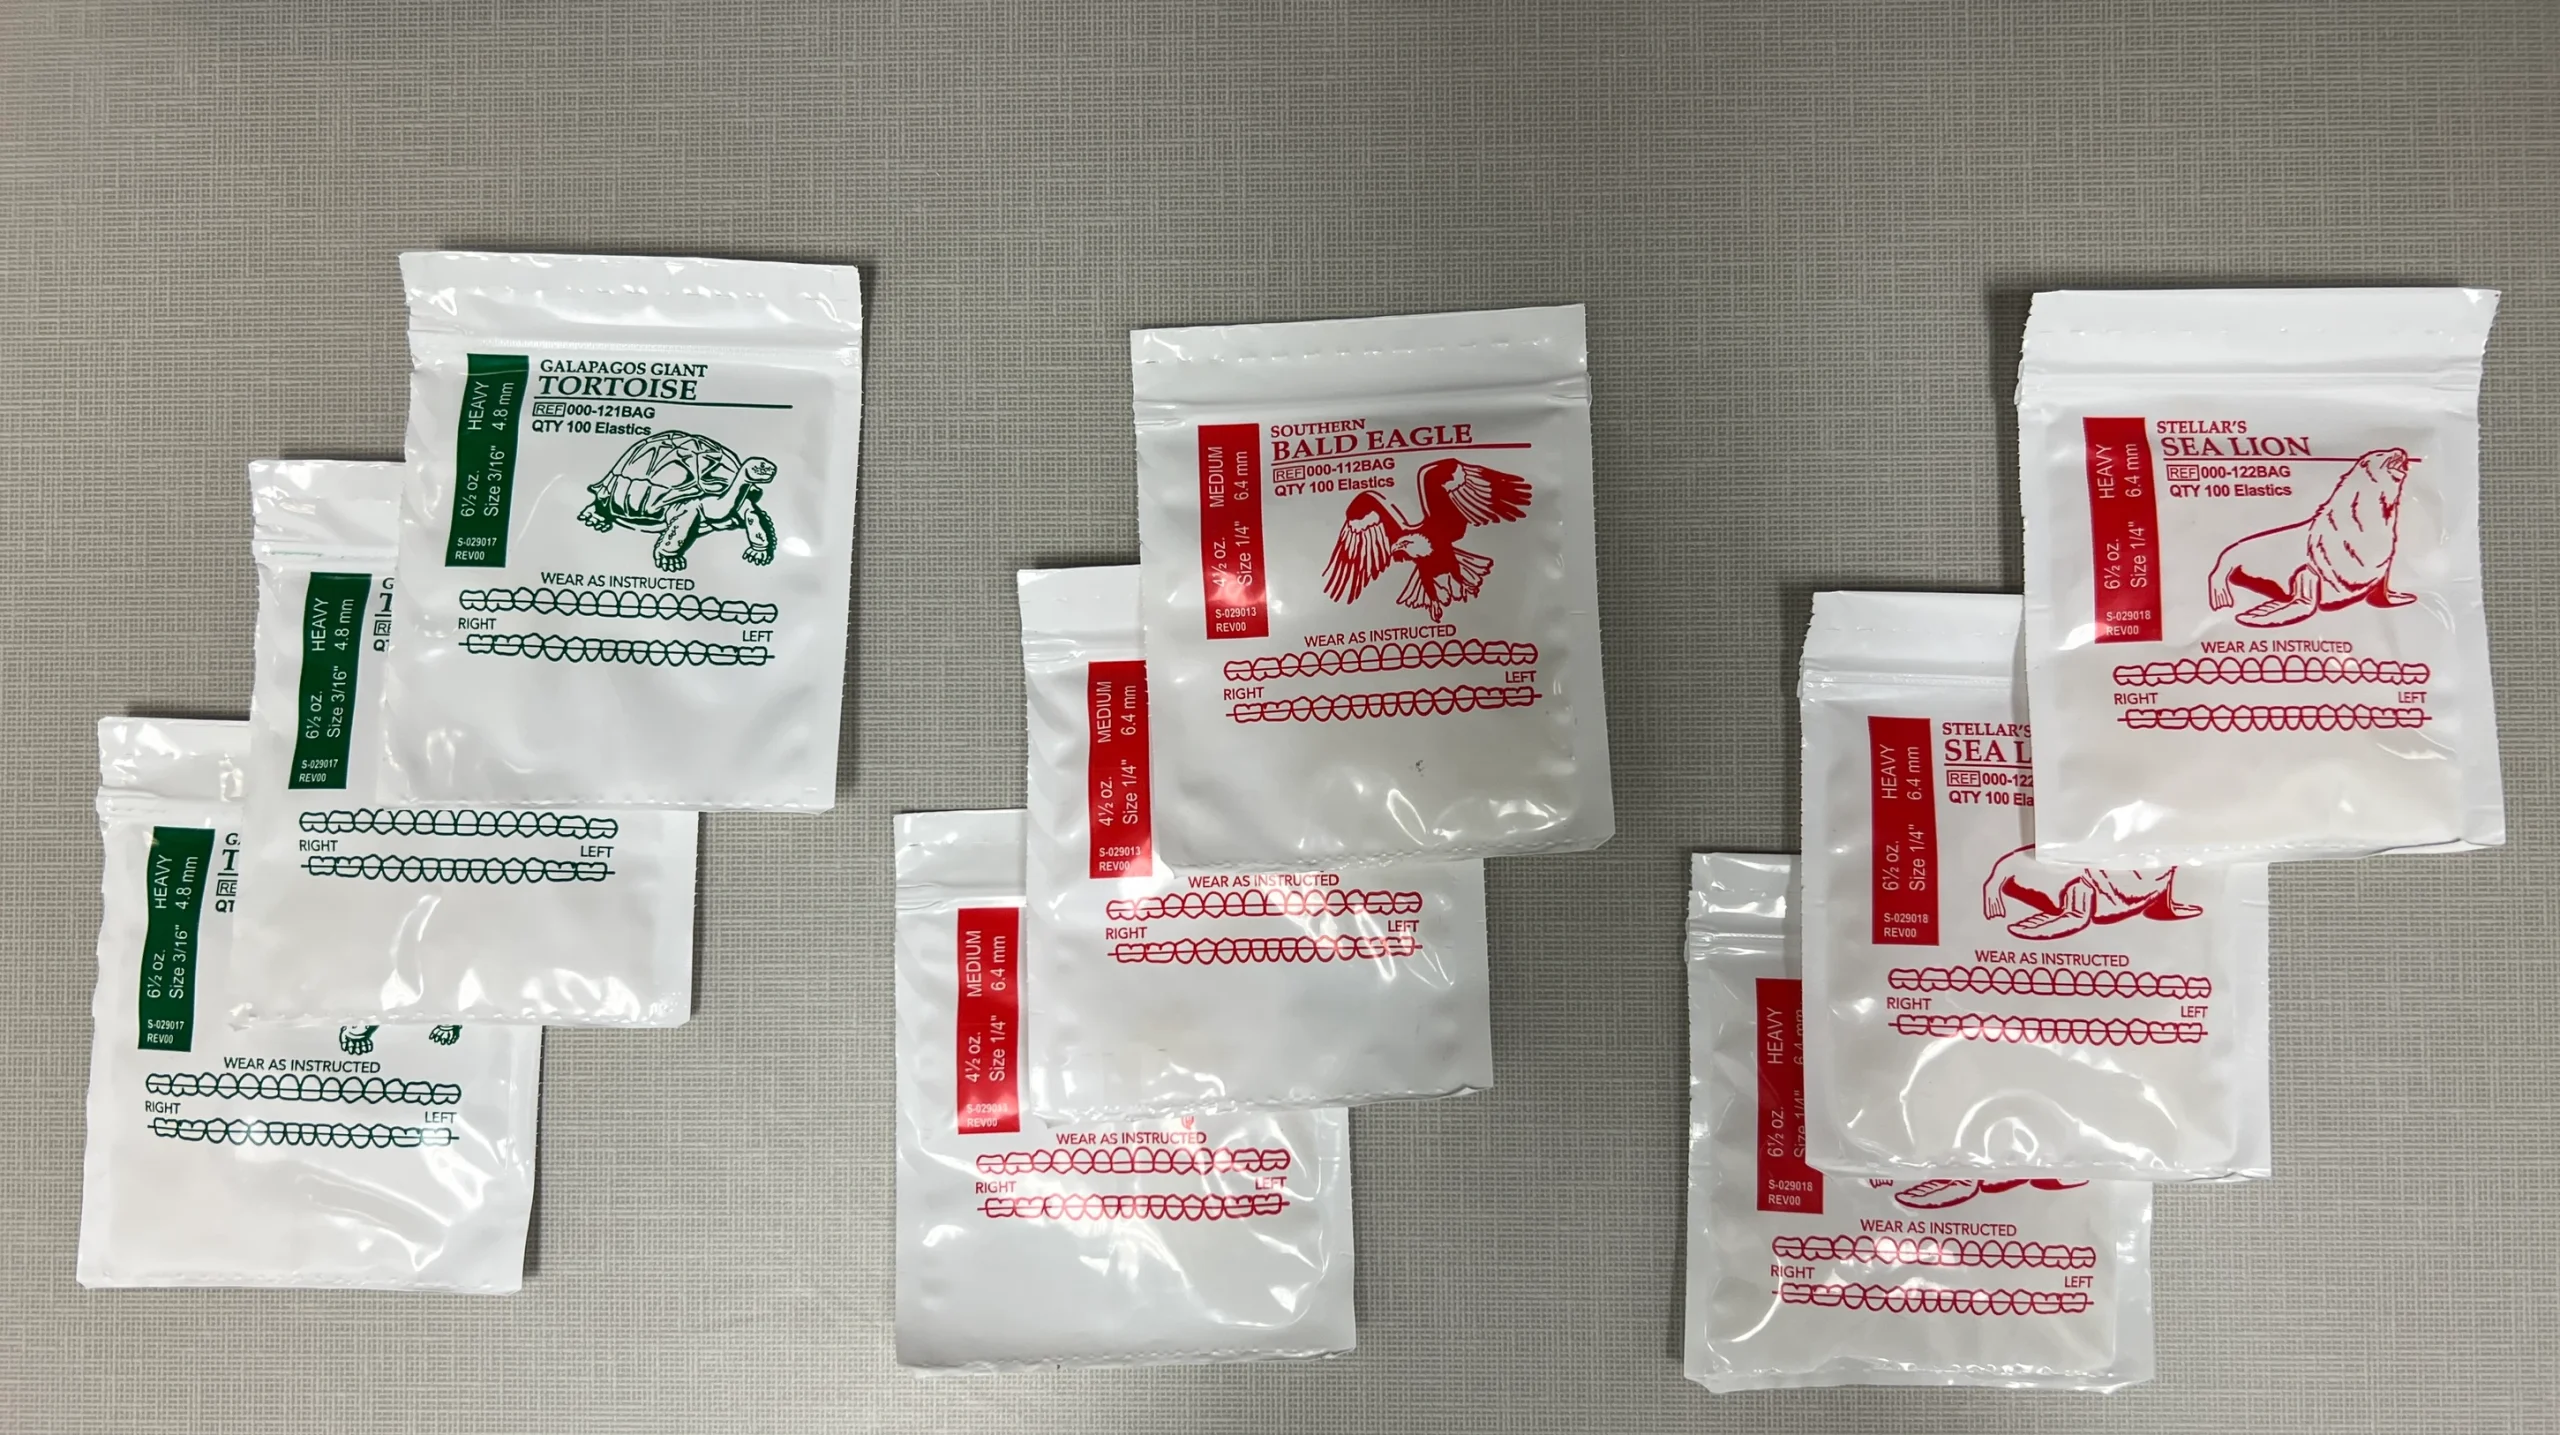
- The patient’s aligner boxes
- Air/water syringe
- Mirror & Explorer
- Scaler
- Composite filling instrument
- Suction tip
- Cotton rolls
- Rubber dam cheek retractor (or NOLA)
- Microbrush
- Dental etch
- Bonding agent
- Composite resin
- Curing light
- UV blacklight flashlight
- Polishing white stone rounded burr
- Elastics as needed
- IPR strips/handle/disk
- IPR measuring gauge
1. Read any notes in the Office Visit
See if the Doctor has left any notes for this Office Visit.
2. Bond attachments and perform IPR
Review the instructions sheet in the patient’s aligner box for the attachments that need to be bonded and the IPR that needs to be performed in this appointment.
Here are two videos if you need a reminder on bonding attachments and performing IPR:
3. Give the aligners and the supplies to your patient
- Help them wear aligners #1
- Give them the rest of the aligner sets (or as many as you would like) to take home along with the case, the chewies and the removal tool.
- Make sure to keep the instructions sheet in the office. You will need it again in future appointments.
- Give them 3 bags of each kind of elastics that the patient will be needing.
There is no need to give your patient any instructions on when or how to wear their elastics or how to take care of the aligners. The patient will be receiving instructions through their Dental Monitoring app.
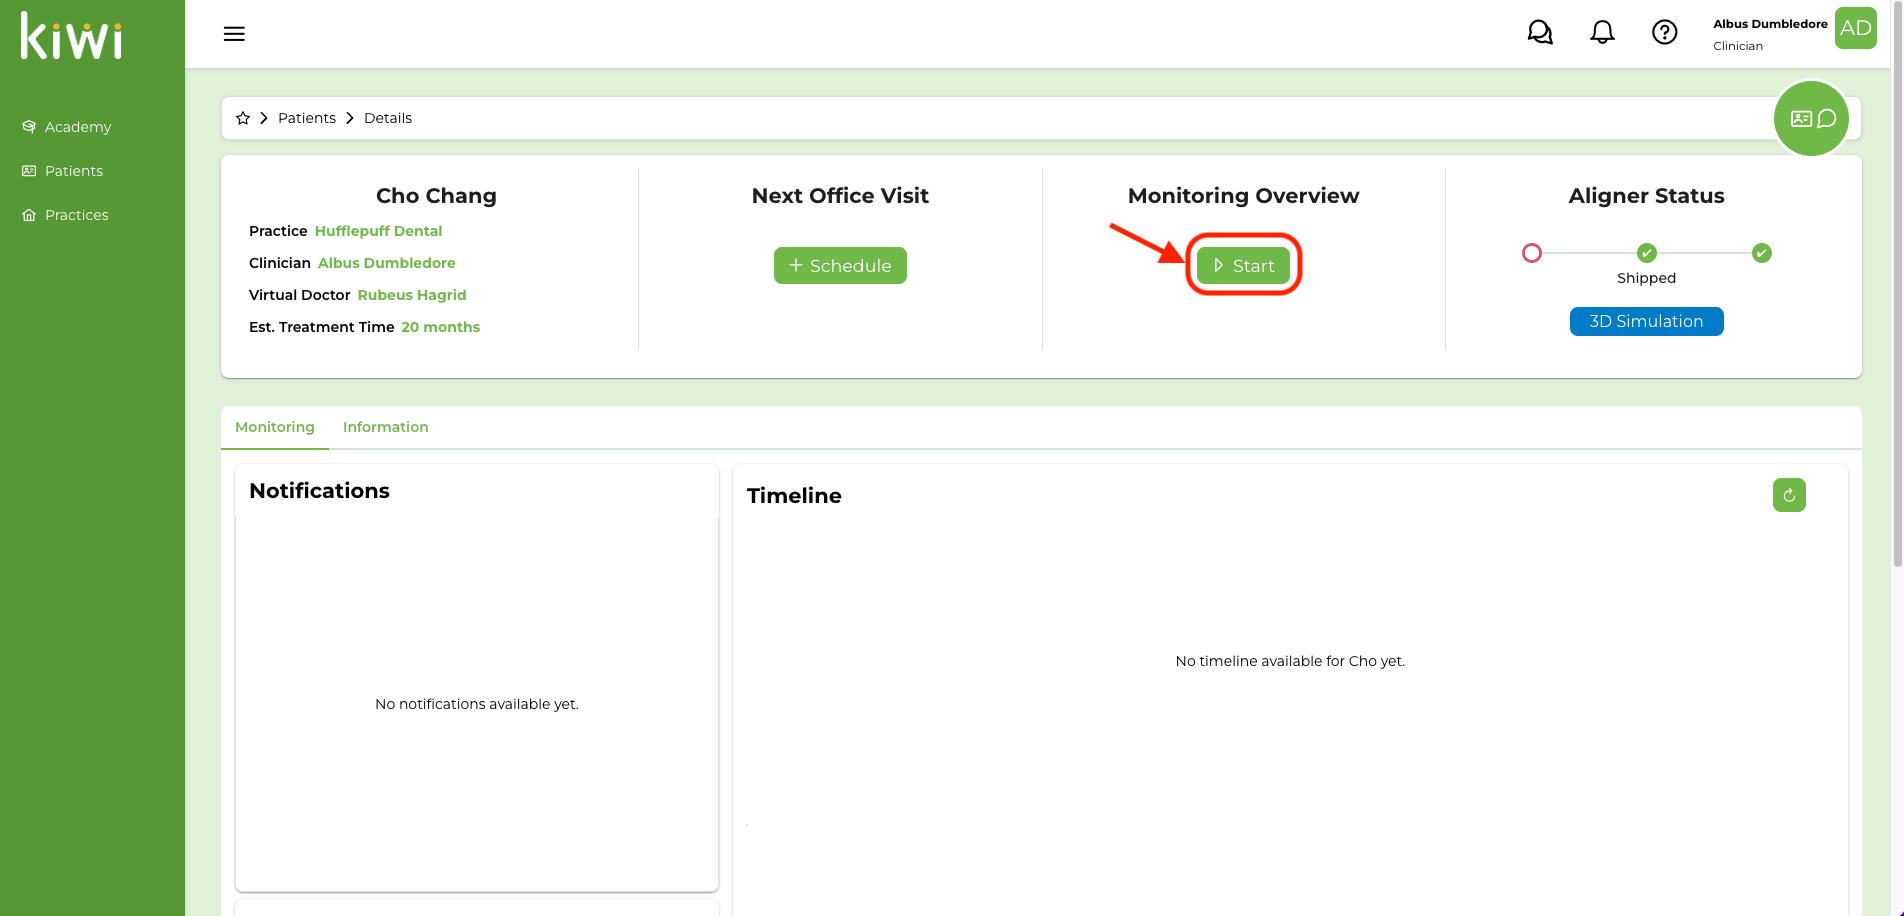
4. Start Monitoring
- Go to the “Monitoring Overview” tab and click Start.
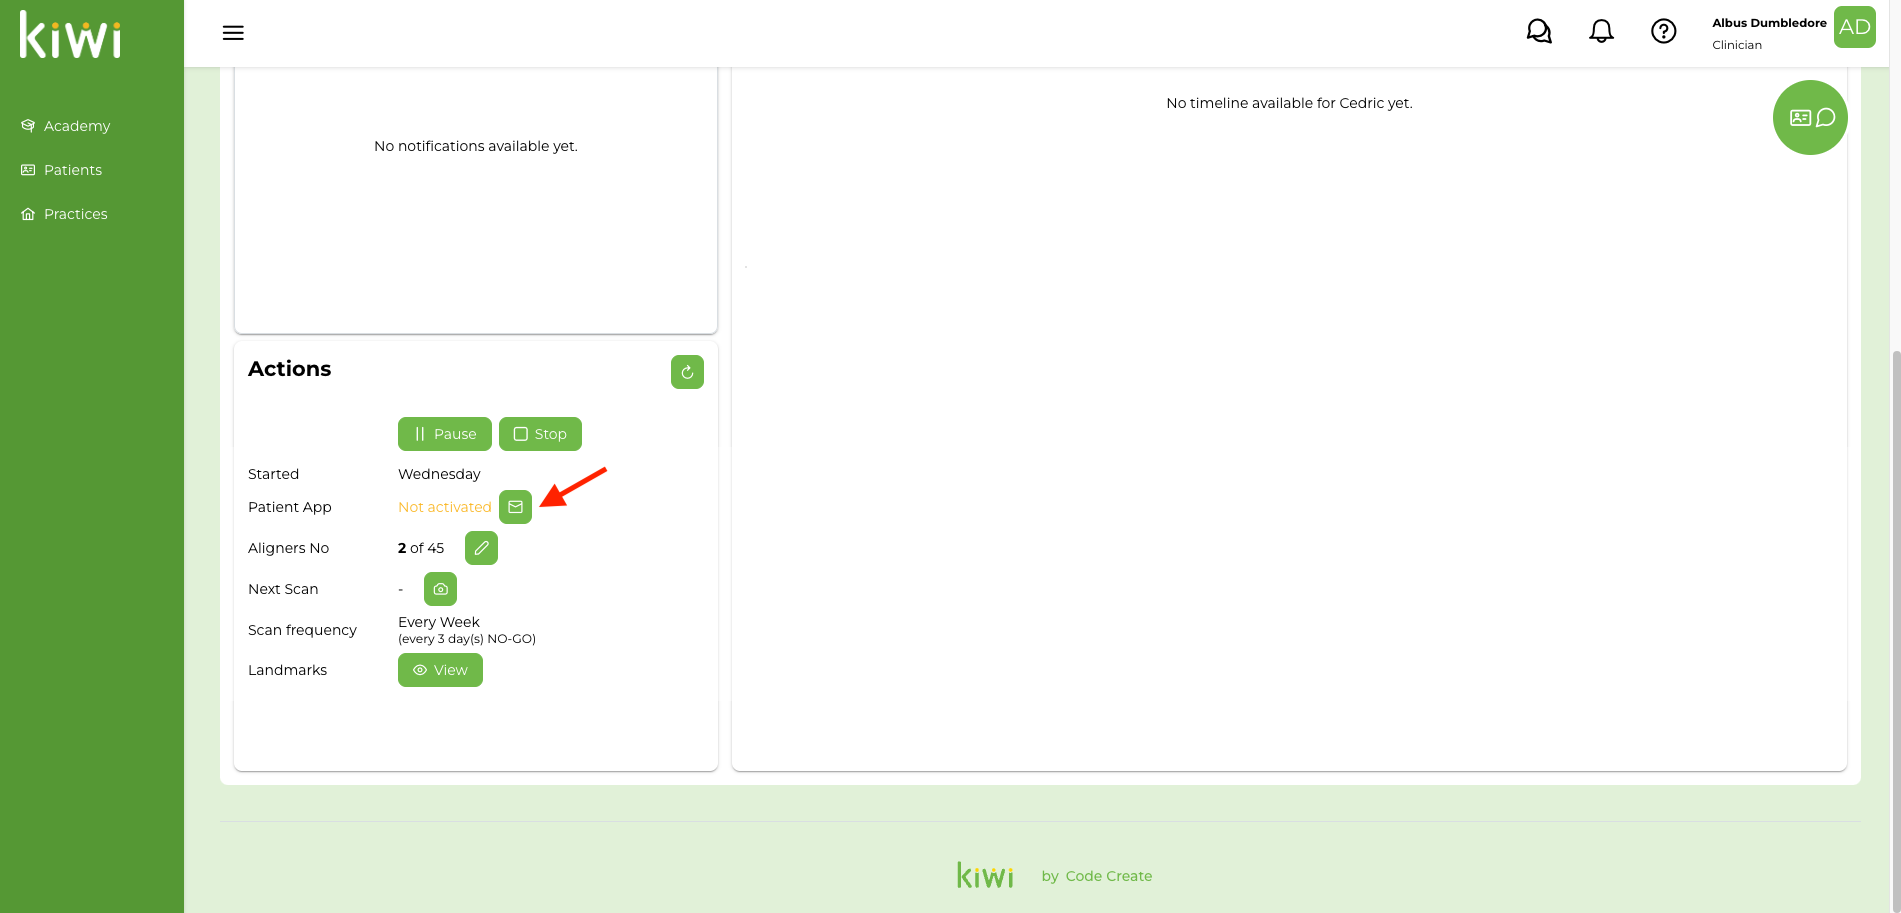
- Ask the patient to find an email invitation that has been sent to them from Dental Monitoring titled “Welcome to DentalMonitoring”.
If they have not received it, you can click on the “Mail” button in the actions tab to re-send them the invitation email.
- In case the patient’s email has been entered wrong and you need to correct it, click on the “Information” tab, make the necessary changes and re-send the invitation email.

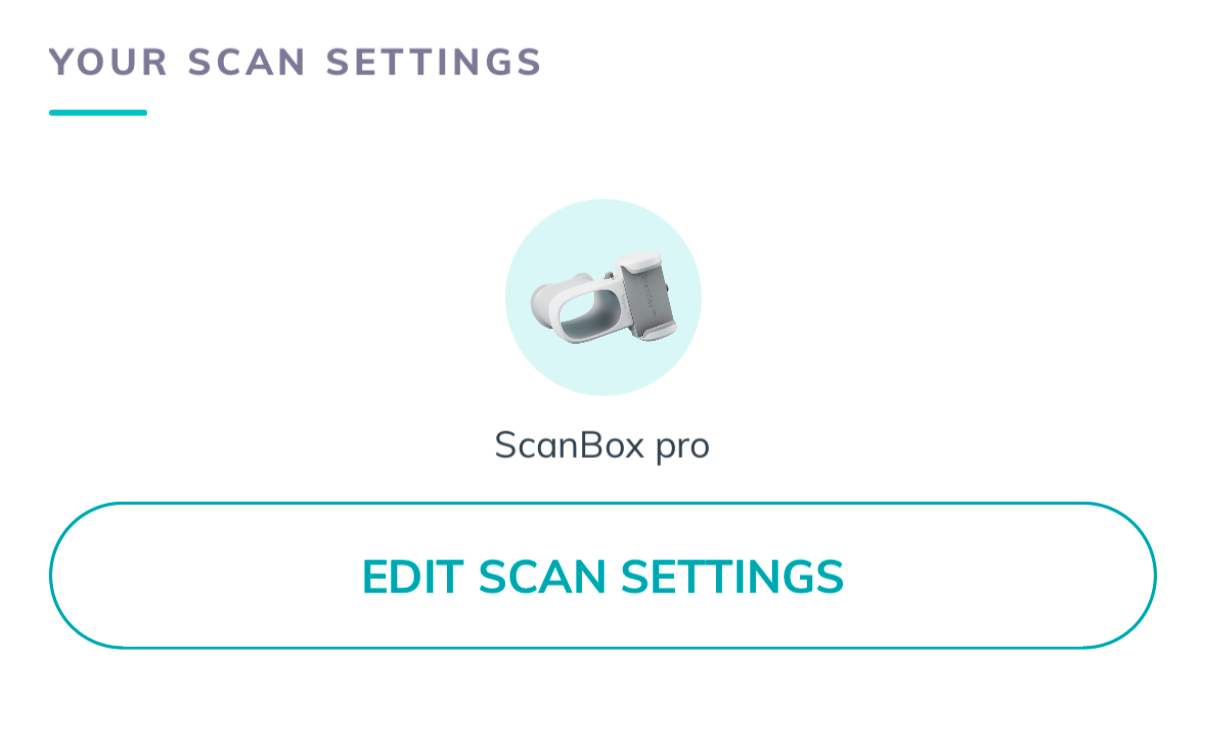
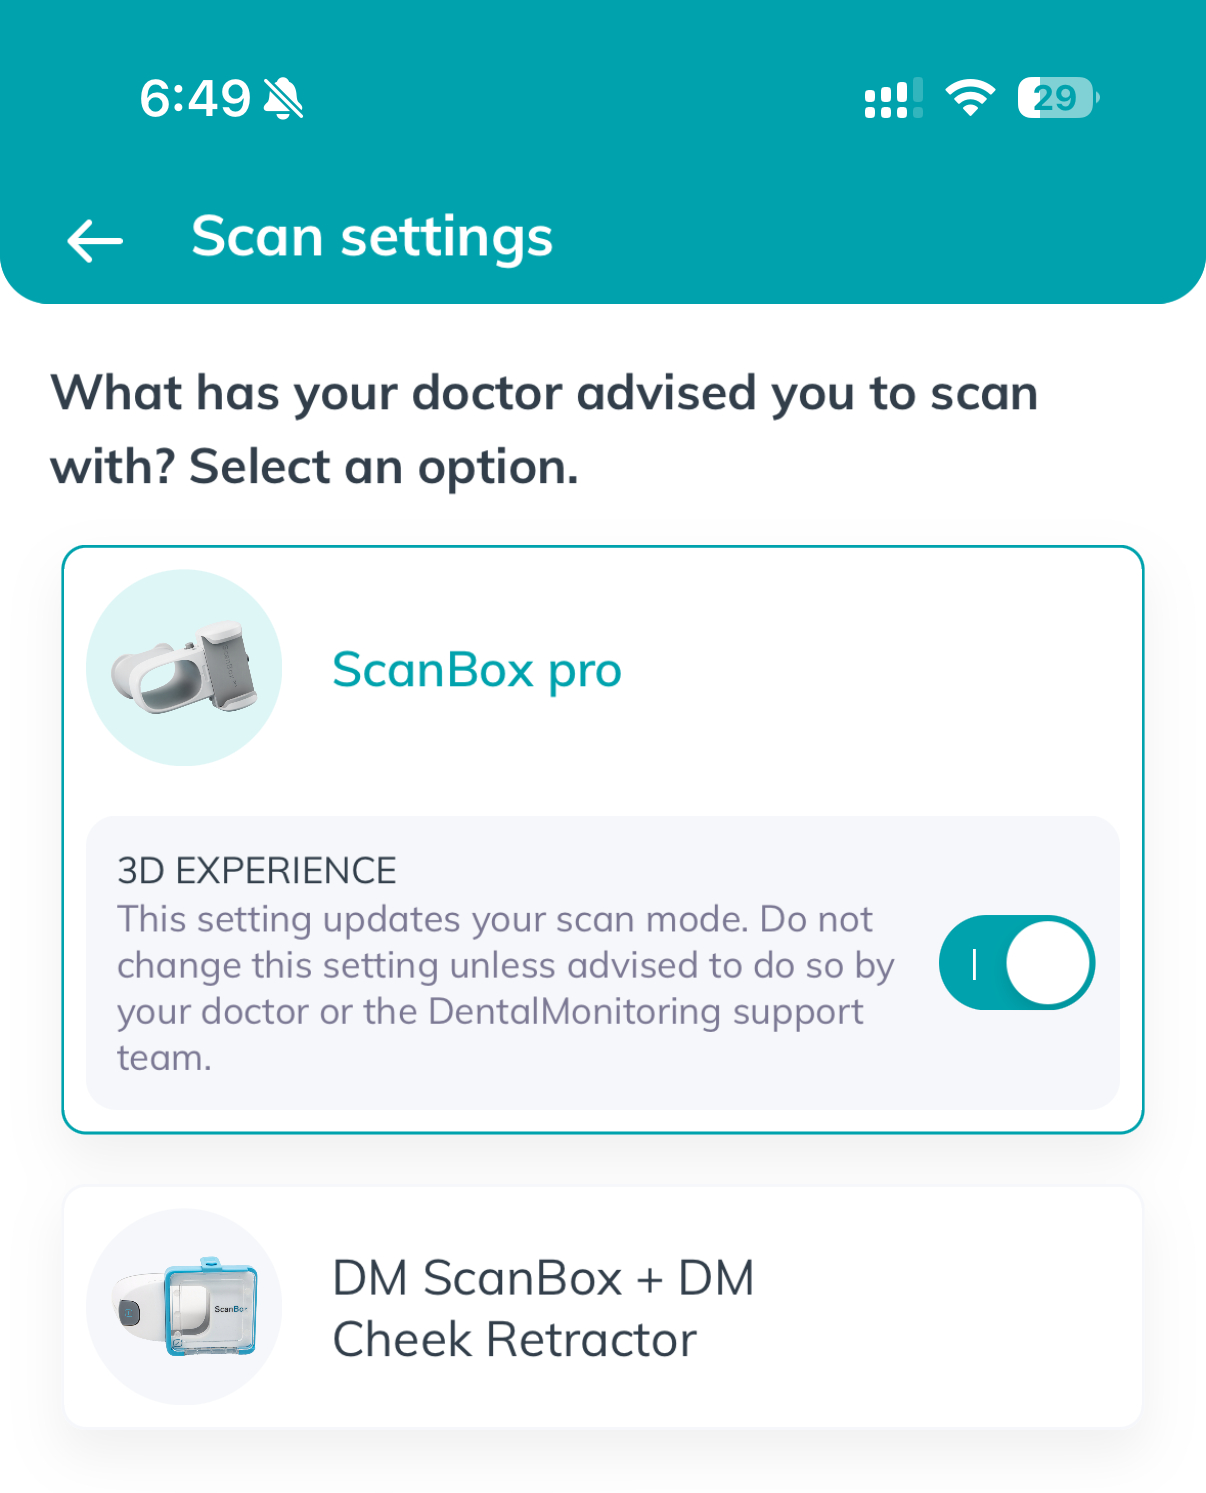
- In the mobile app, confirm that the patient selects “ScanBox Pro” as their Scan Settings. if not, click on “EDIT SCAN SETTINGS” and select “ScanBox Pro”. Also confirm that the patient allows notifications from the app when asked.
- Once the Dental Monitoring app asks them to perform a scan, hand them the Dental Monitoring kit and help them do their first scan. Here is a video if you need a reminder on how to scan with Dental Monitoring:
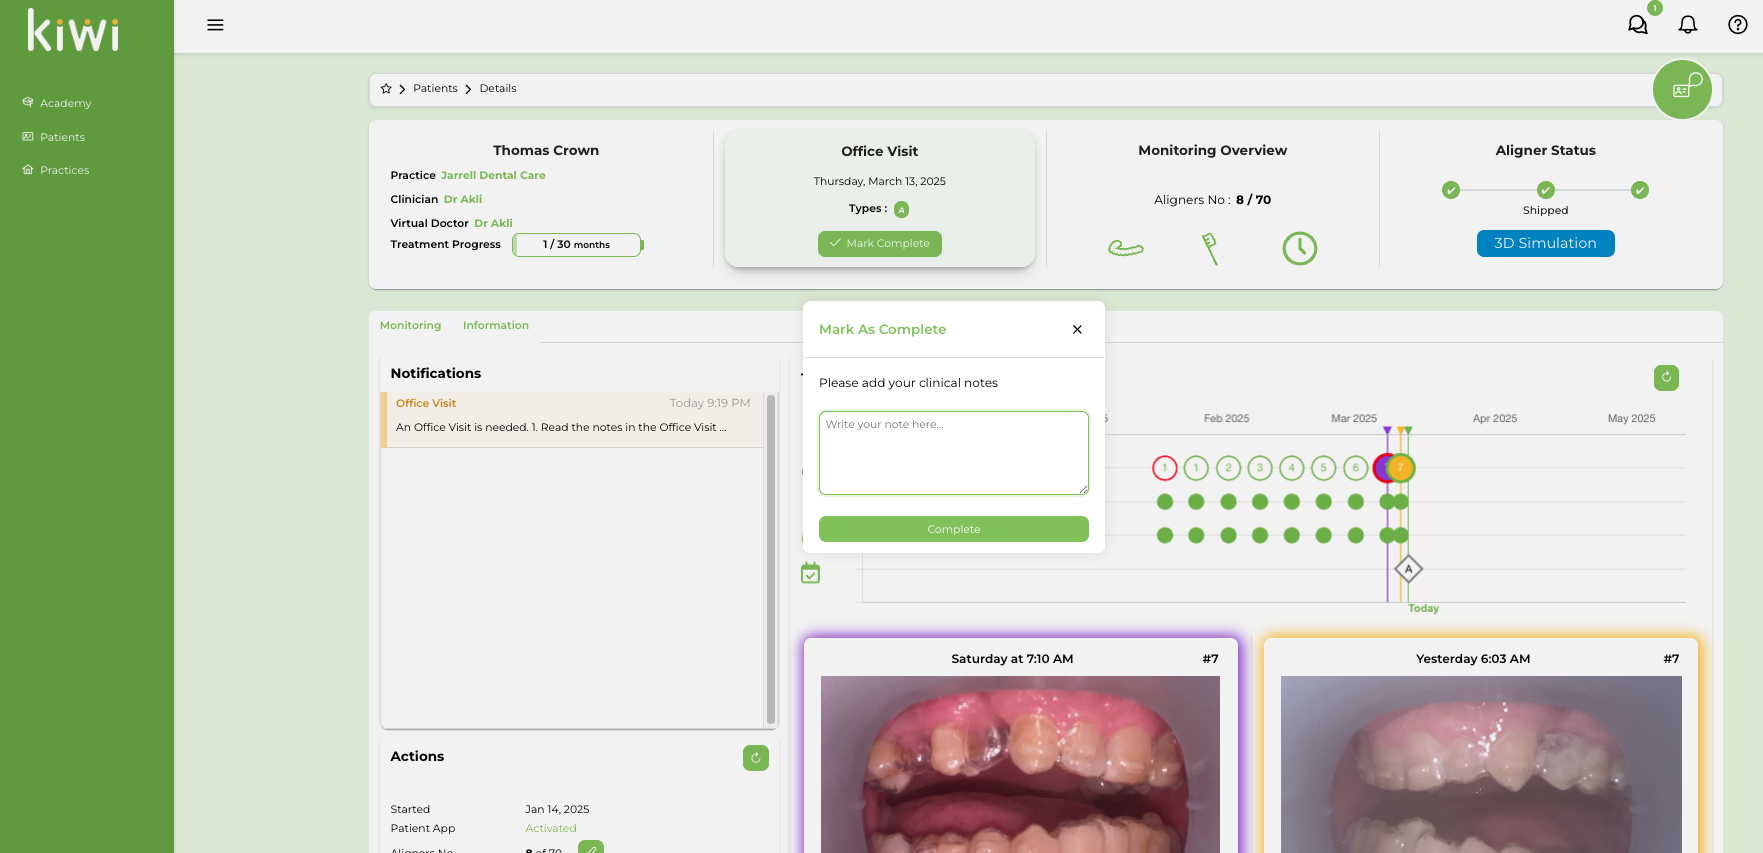
5. Write clinical notes and update visit status
Click on “Mark Complete” and add any notes to the Office Visit if any of the planned actions could not be done as planned (e.g. could not bond attachment on tooth #…).
6. Explain Communication, Check to-do List and Dismiss the Patient
Tell the patient that they will be receiving all the communication of instructions, what to do from now on and future appointments through the Dental Monitoring app. They will also be using the Dental Monitoring app to text us back with any questions/concerns that might come up. Make sure that you checked all the to-do list and dismiss them.
Make sure that you checked all the to-do list and dismiss the patient.