Follow-Up Scan
1. Read any notes in the Office Visit
See if the Doctor has left any notes for this Office Visit.
2. Confirm case completion
Check with the patient for any remaining concerns.
*Make sure to check for any unwanted open contacts between the teeth with a dental floss. If there are any, measure their width with the IPR gauge and keep a note of their width and chart it in the Office Visit notes.
3. Next Steps
- If the patient is ready for debond, order retainers.
- If the patient has remaining concerns, then:
- Take records
- an intra-oral scan
- a Panoramic x-ray (if the latest one is more than 3 months old)
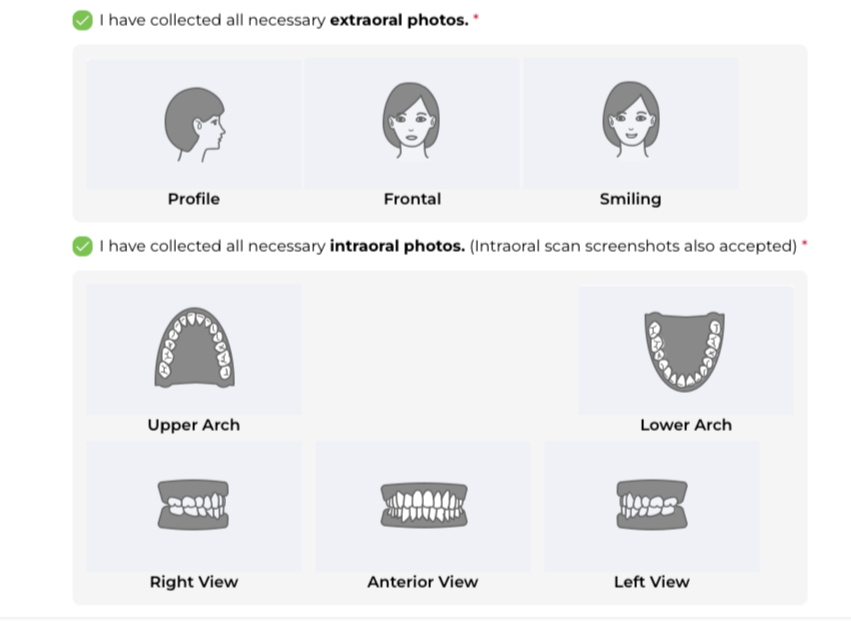
- photos – the 3 facial and the 5 intra-oral photos (instead of taking the intra-oral photos you can also use screenshots from your intra-oral scan)
- Go to the aligner platform, start a refinement form and add the records.
4. Write clinical notes and update Visit status
Click on “Mark Complete” and add any notes to the Office Visit if any of the planned actions could not be done as planned.
*If the doctor decided not to order retainers and instead added records for refinement, remember to add this to the notes.
Make sure that you checked all the to-do list and dismiss the patient.